Feeling inspired to add your own floral arrangement to the Thanksgiving table this year? Yoshi O'Connor of Floral Fête shared with us some tricks from the trade on how to construct a beautiful arrangement using Curly Willow to add height and a woodsy feel.
"Curly willow is nothing new...but, I love to use it for fall inspired designs, as a quick and easy way to create a grid inside your vase to hold your flowers in place, without messing with tape on your vase. Curly willow comes in different shades of brown and green depending on when it was cut; all are perfect colors for fall! Be sure to use fresh curly willow, as it is still pliable and easy to wind into your vase. The dried versions you often find in craft stores, are too brittle and will break if you try to bend. However, if dried curly willow is all you have available, you can plan ahead, and pre-soak the branches in warm water, submerging the branches in your sink or bathtub for a few hours or overnight. This should help make the branches pliable enough to stuff inside your vase."
To create your own Fall Inspired Arrangement you'll need the following supplies:
1 clear square or cylinder vase
5-7 small fresh, not dried, curly willow branches
bleach
water
floral shears
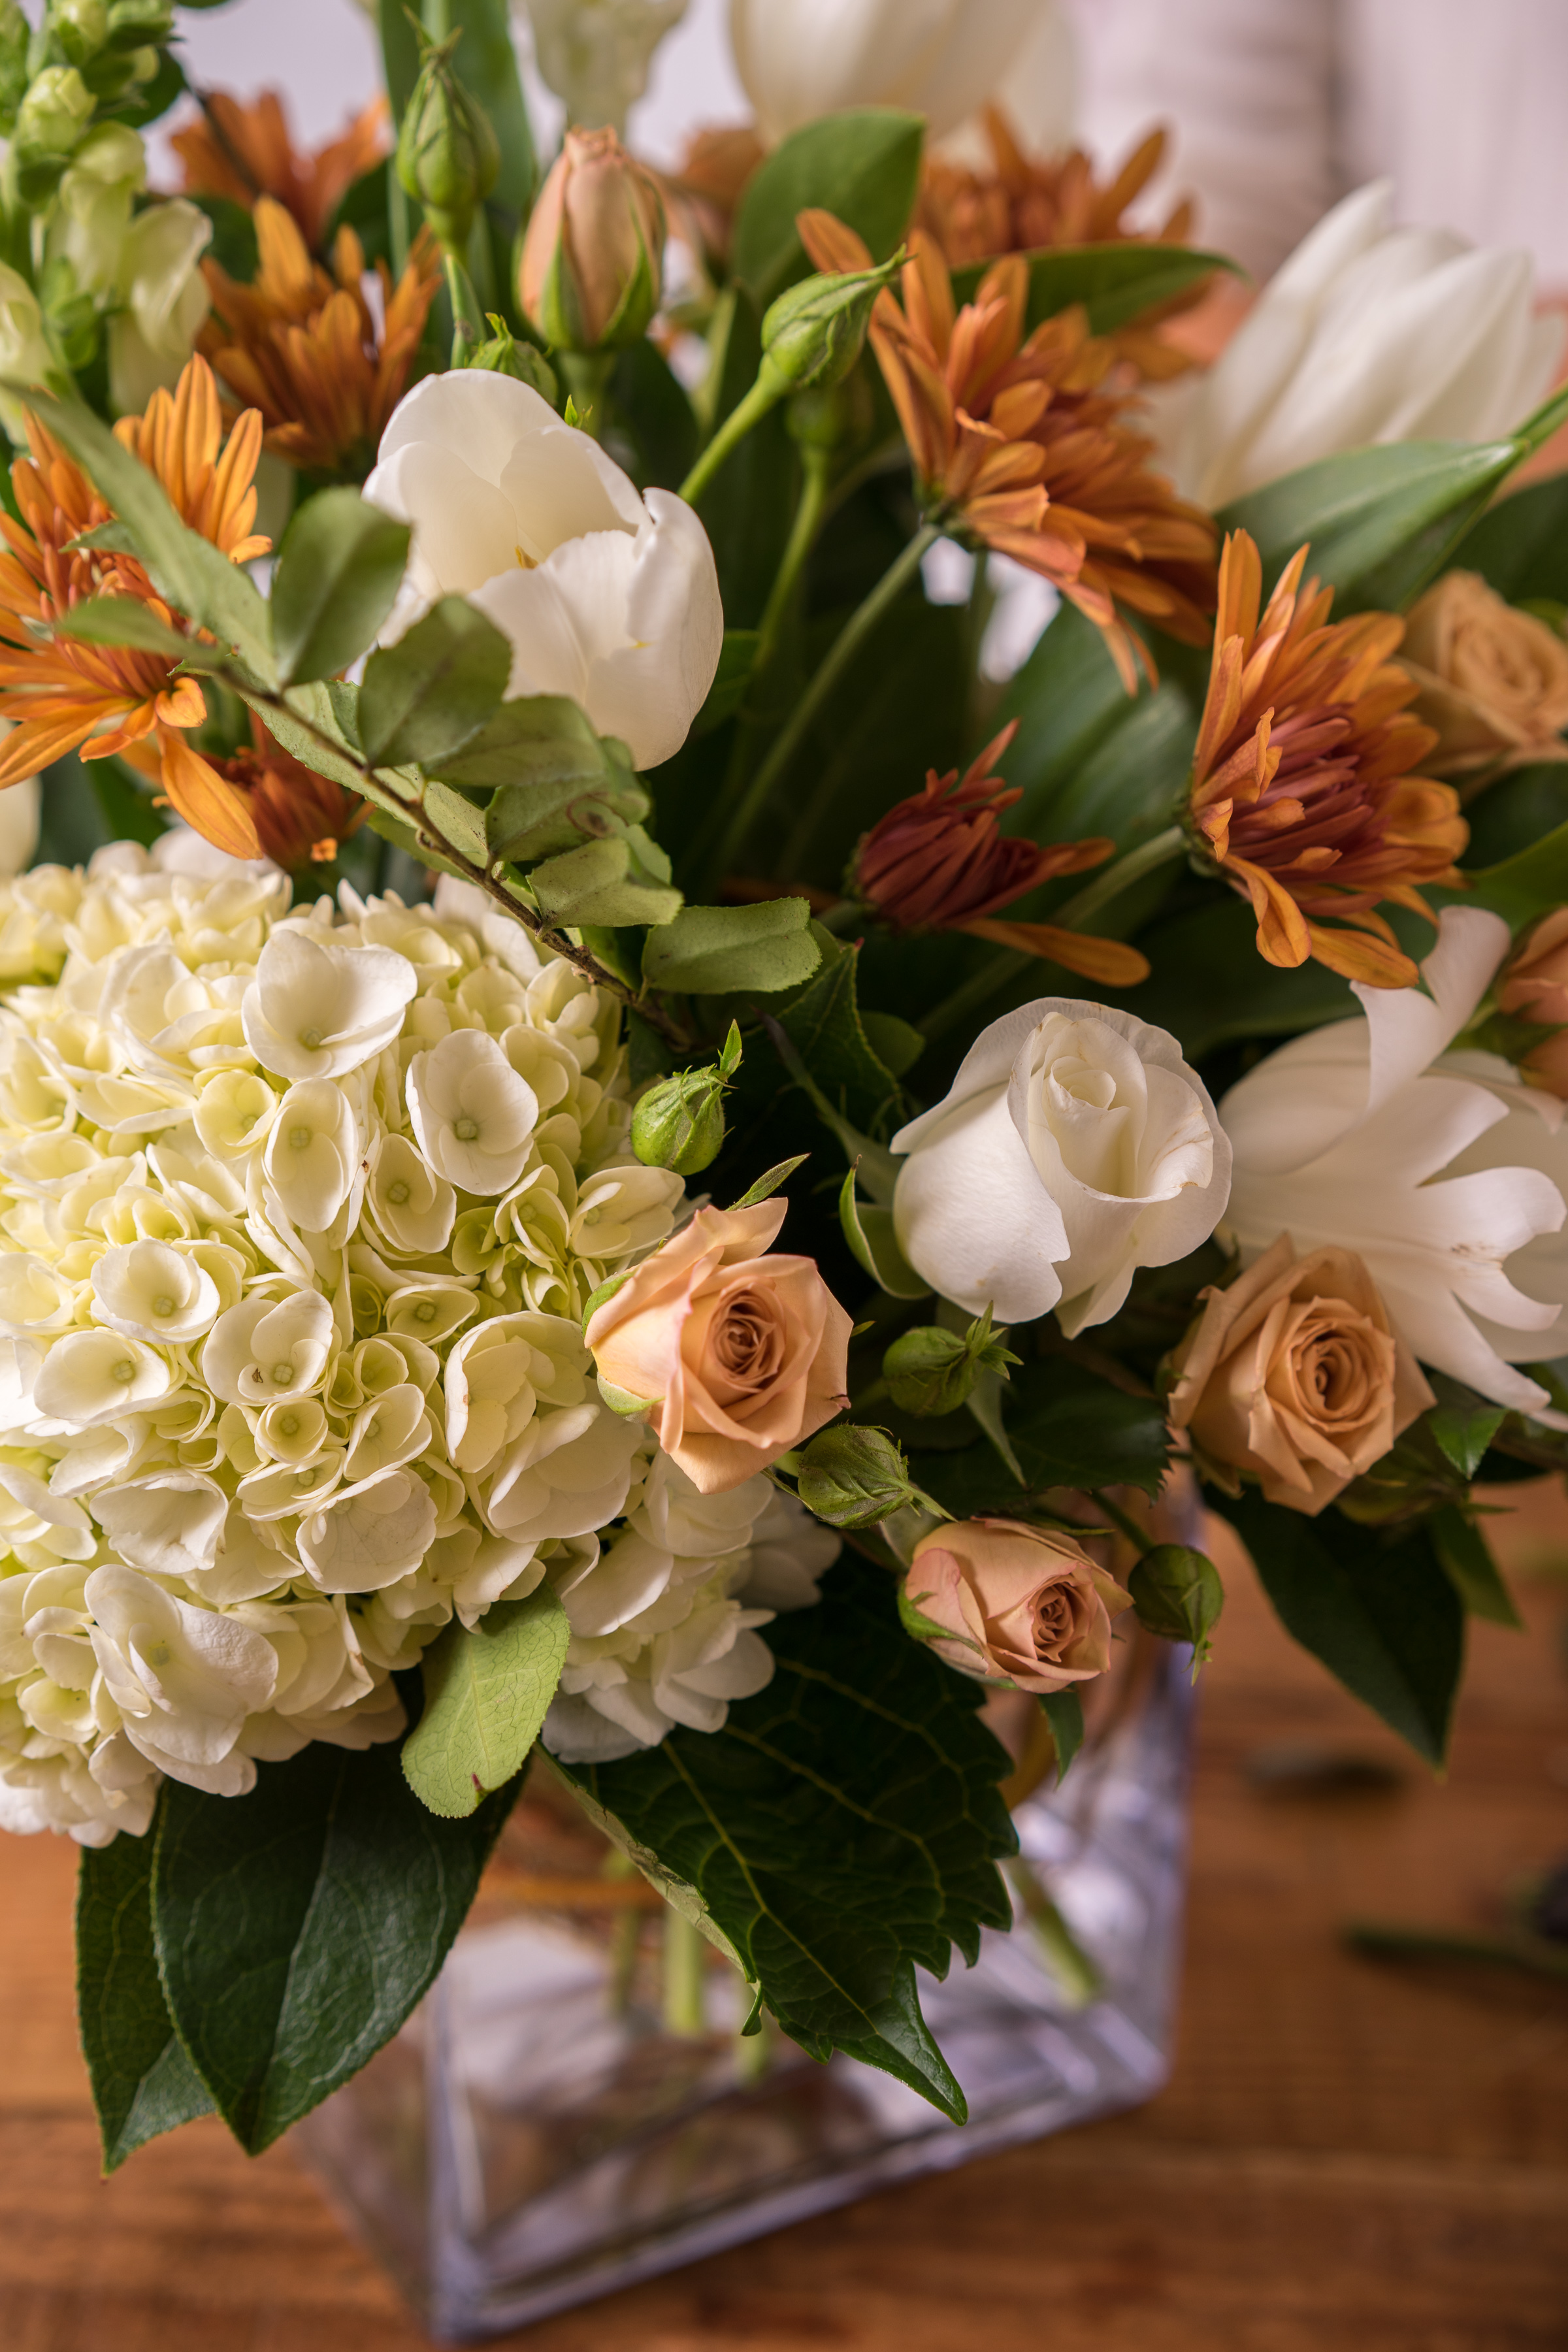
Flowers
Large focal flowers, like hydrangea, roses, and tulips.
Smaller flowers, like chrysanthemums and spray roses
Foliage such as lemon leaf, huckleberry
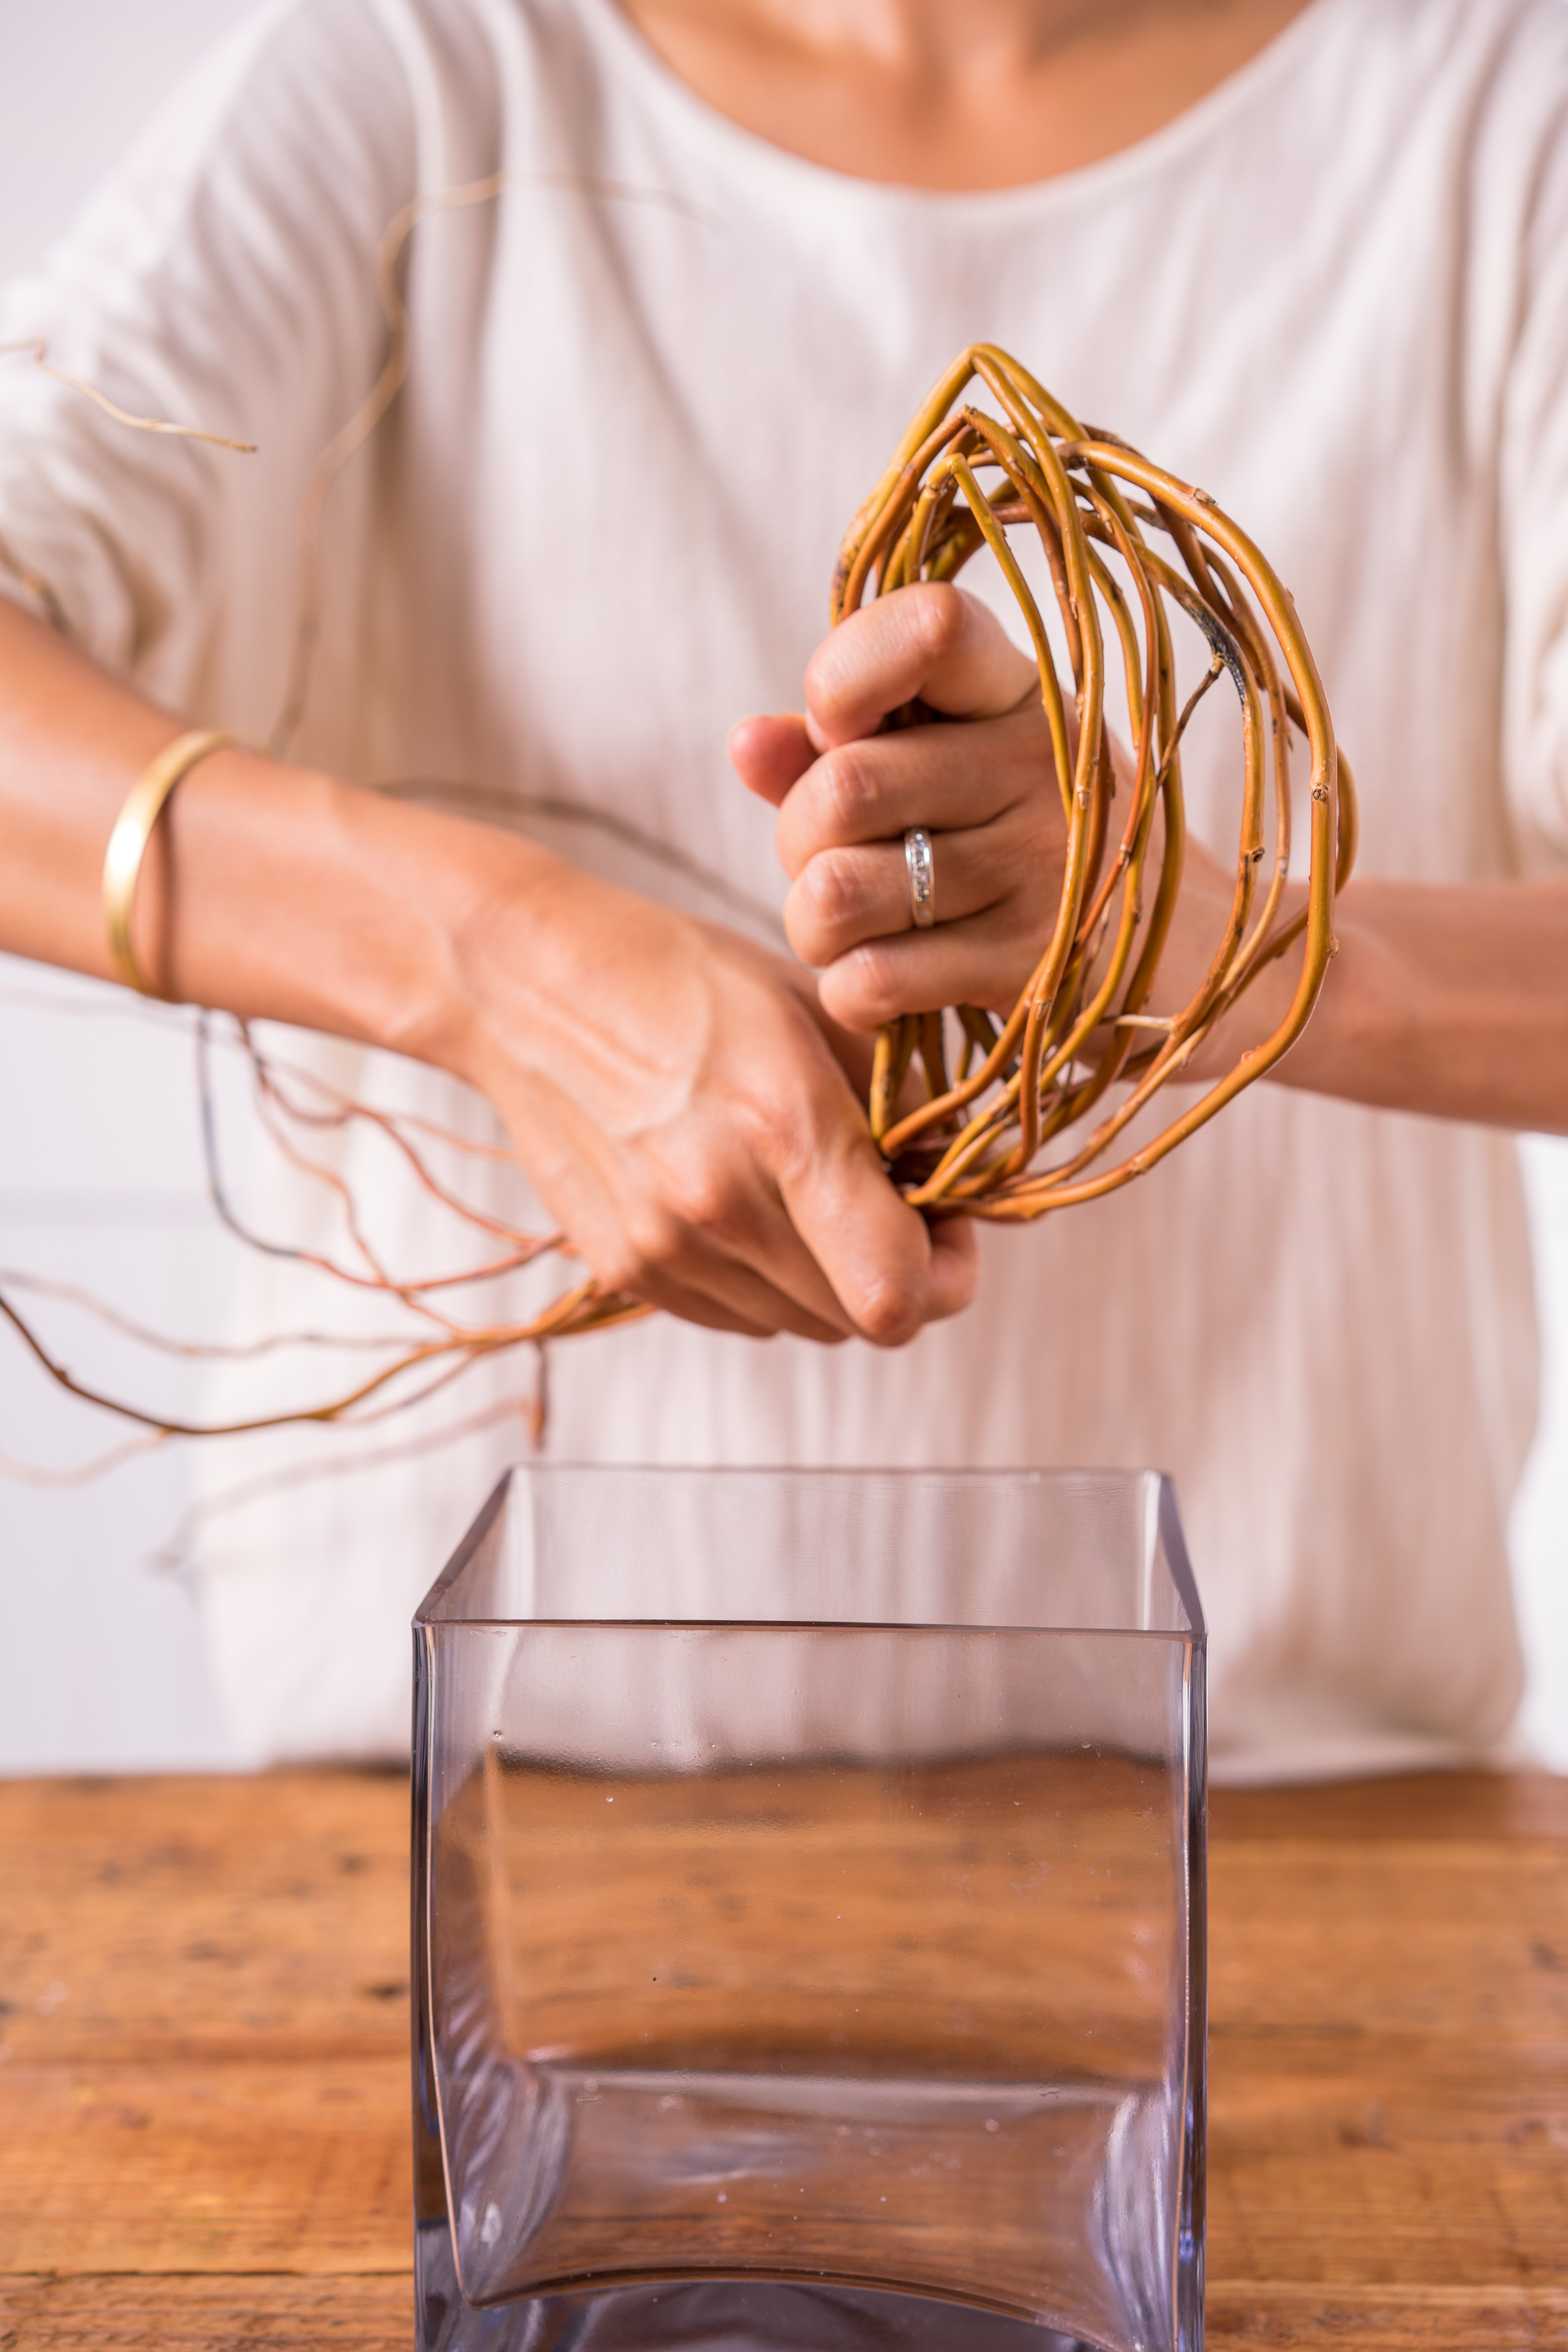
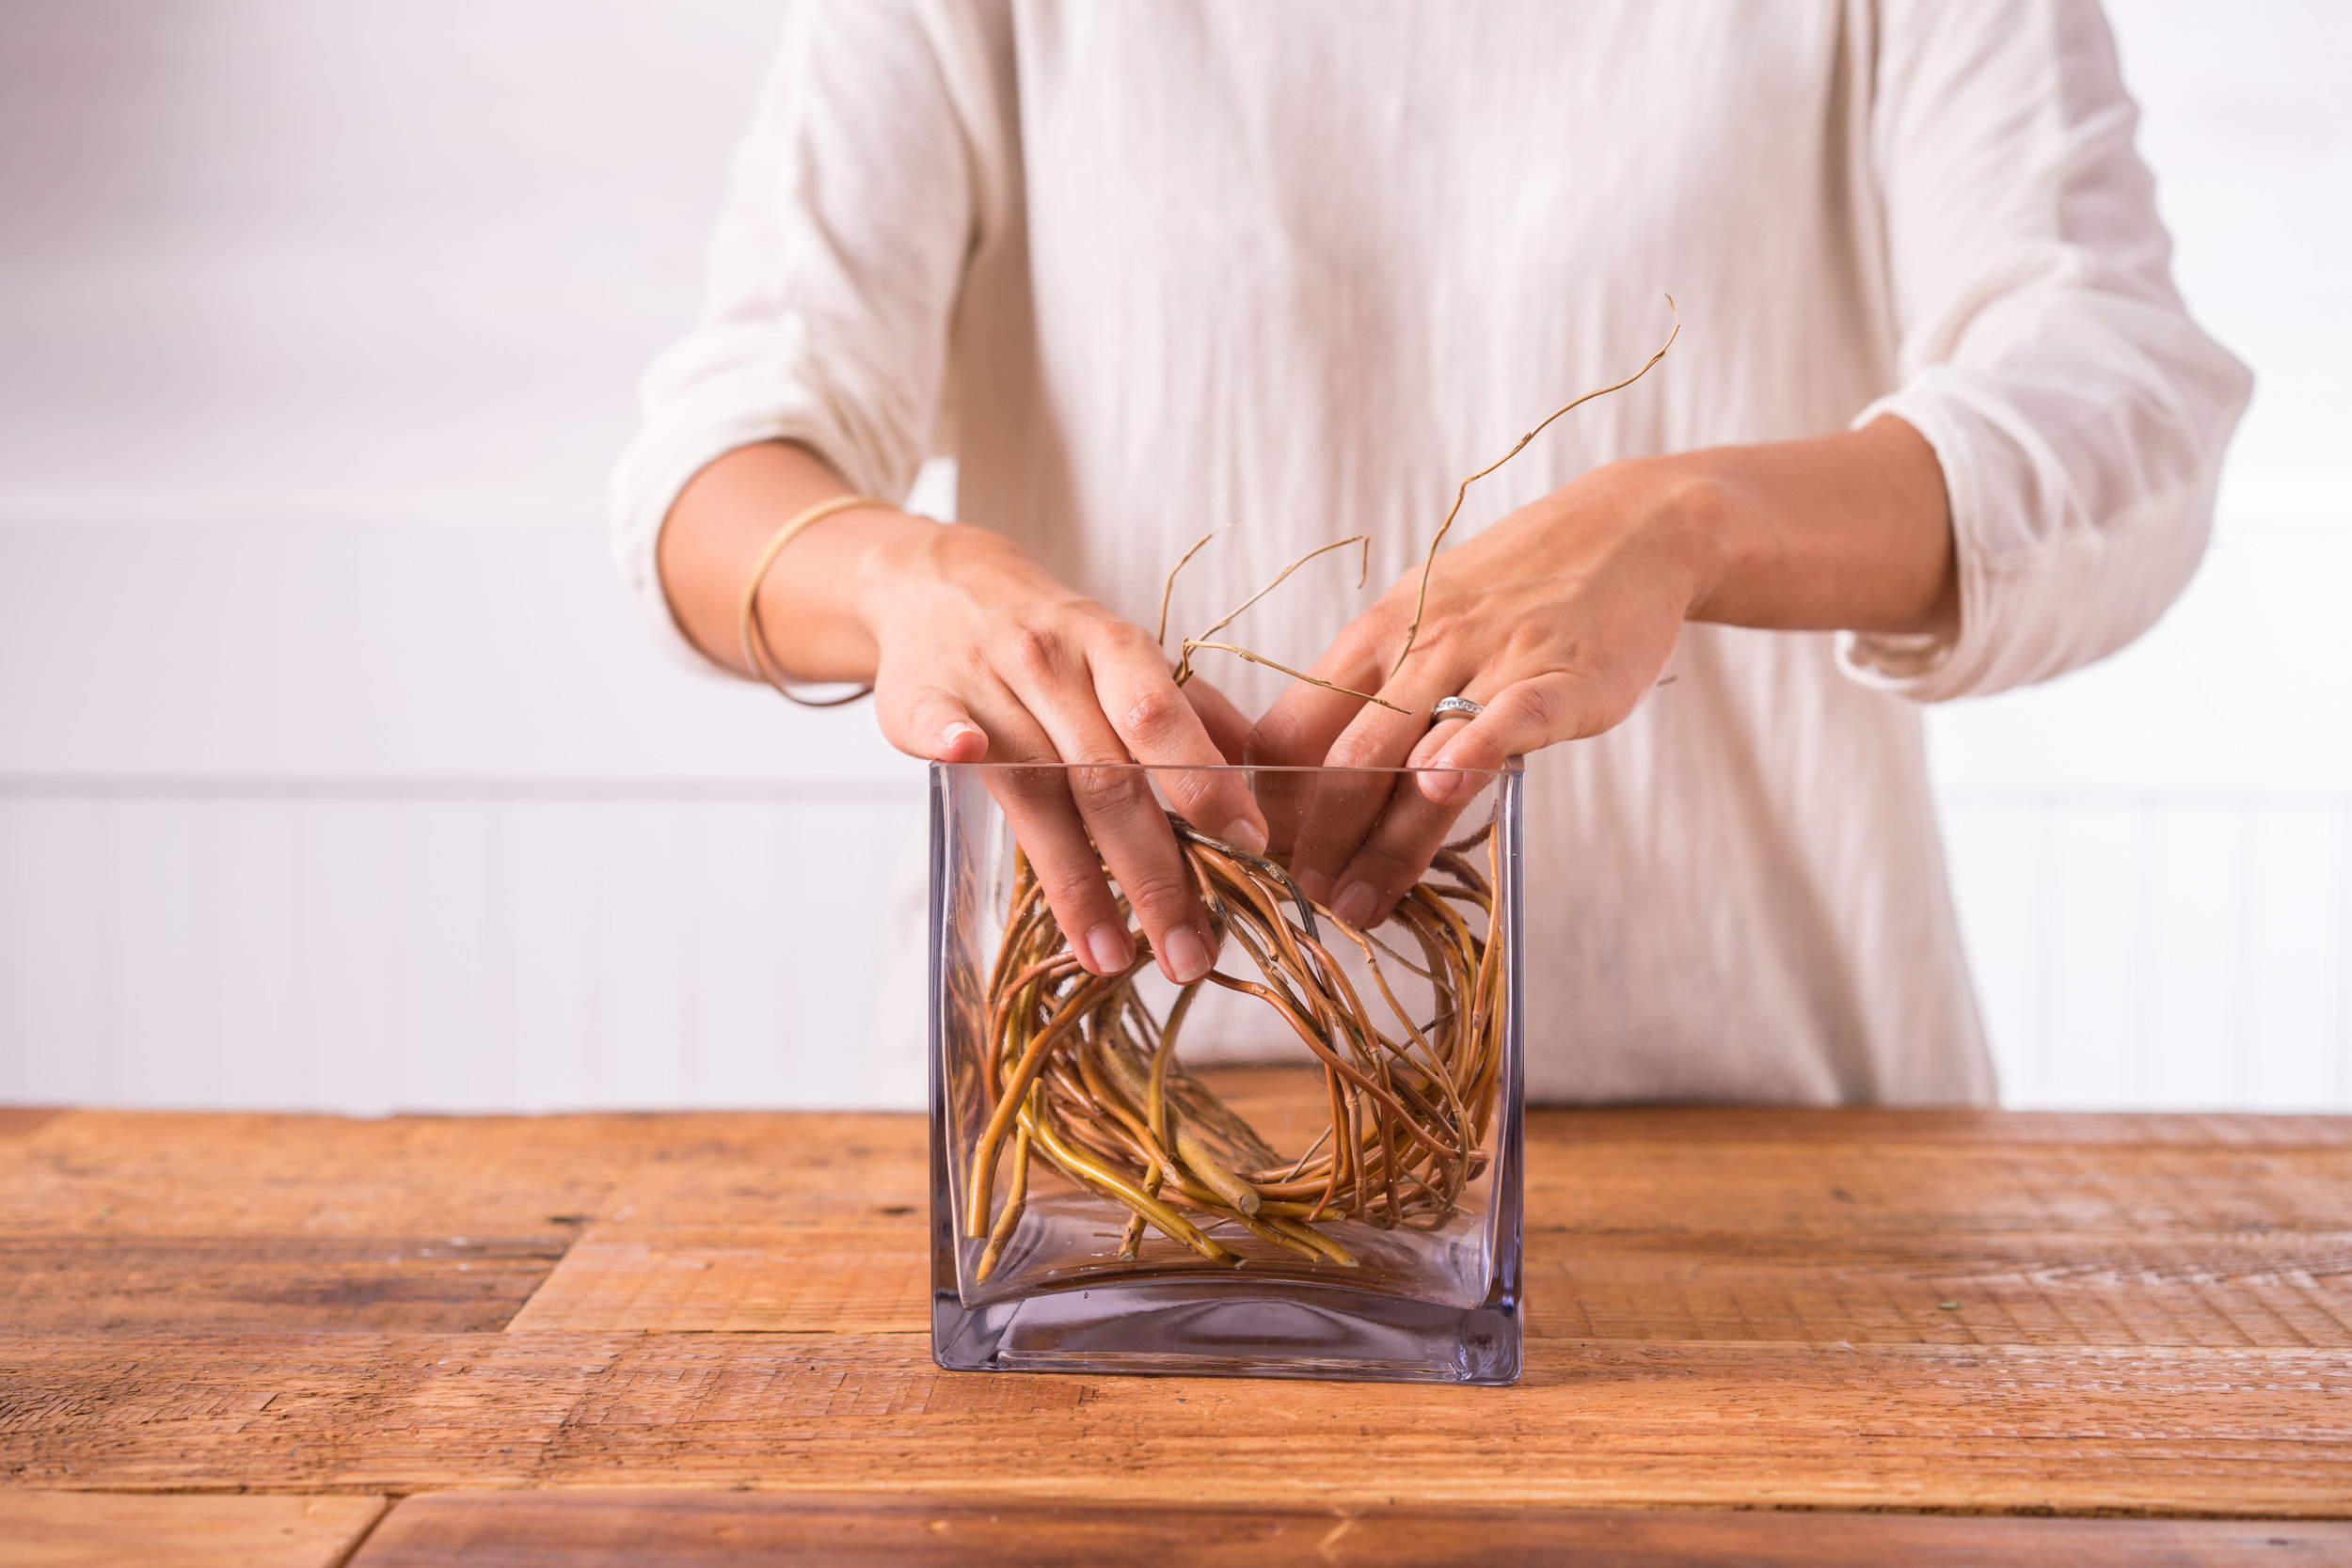
Step 1. Wind the curly willow branches around your fist into a tight loop. Insert into vase, so loop sits vertically; this is going to create a grid to hold your flowers in place. Some pieces may want to fly out a bit, either leave them, or tuck them in. It doesn’t have to be exact.
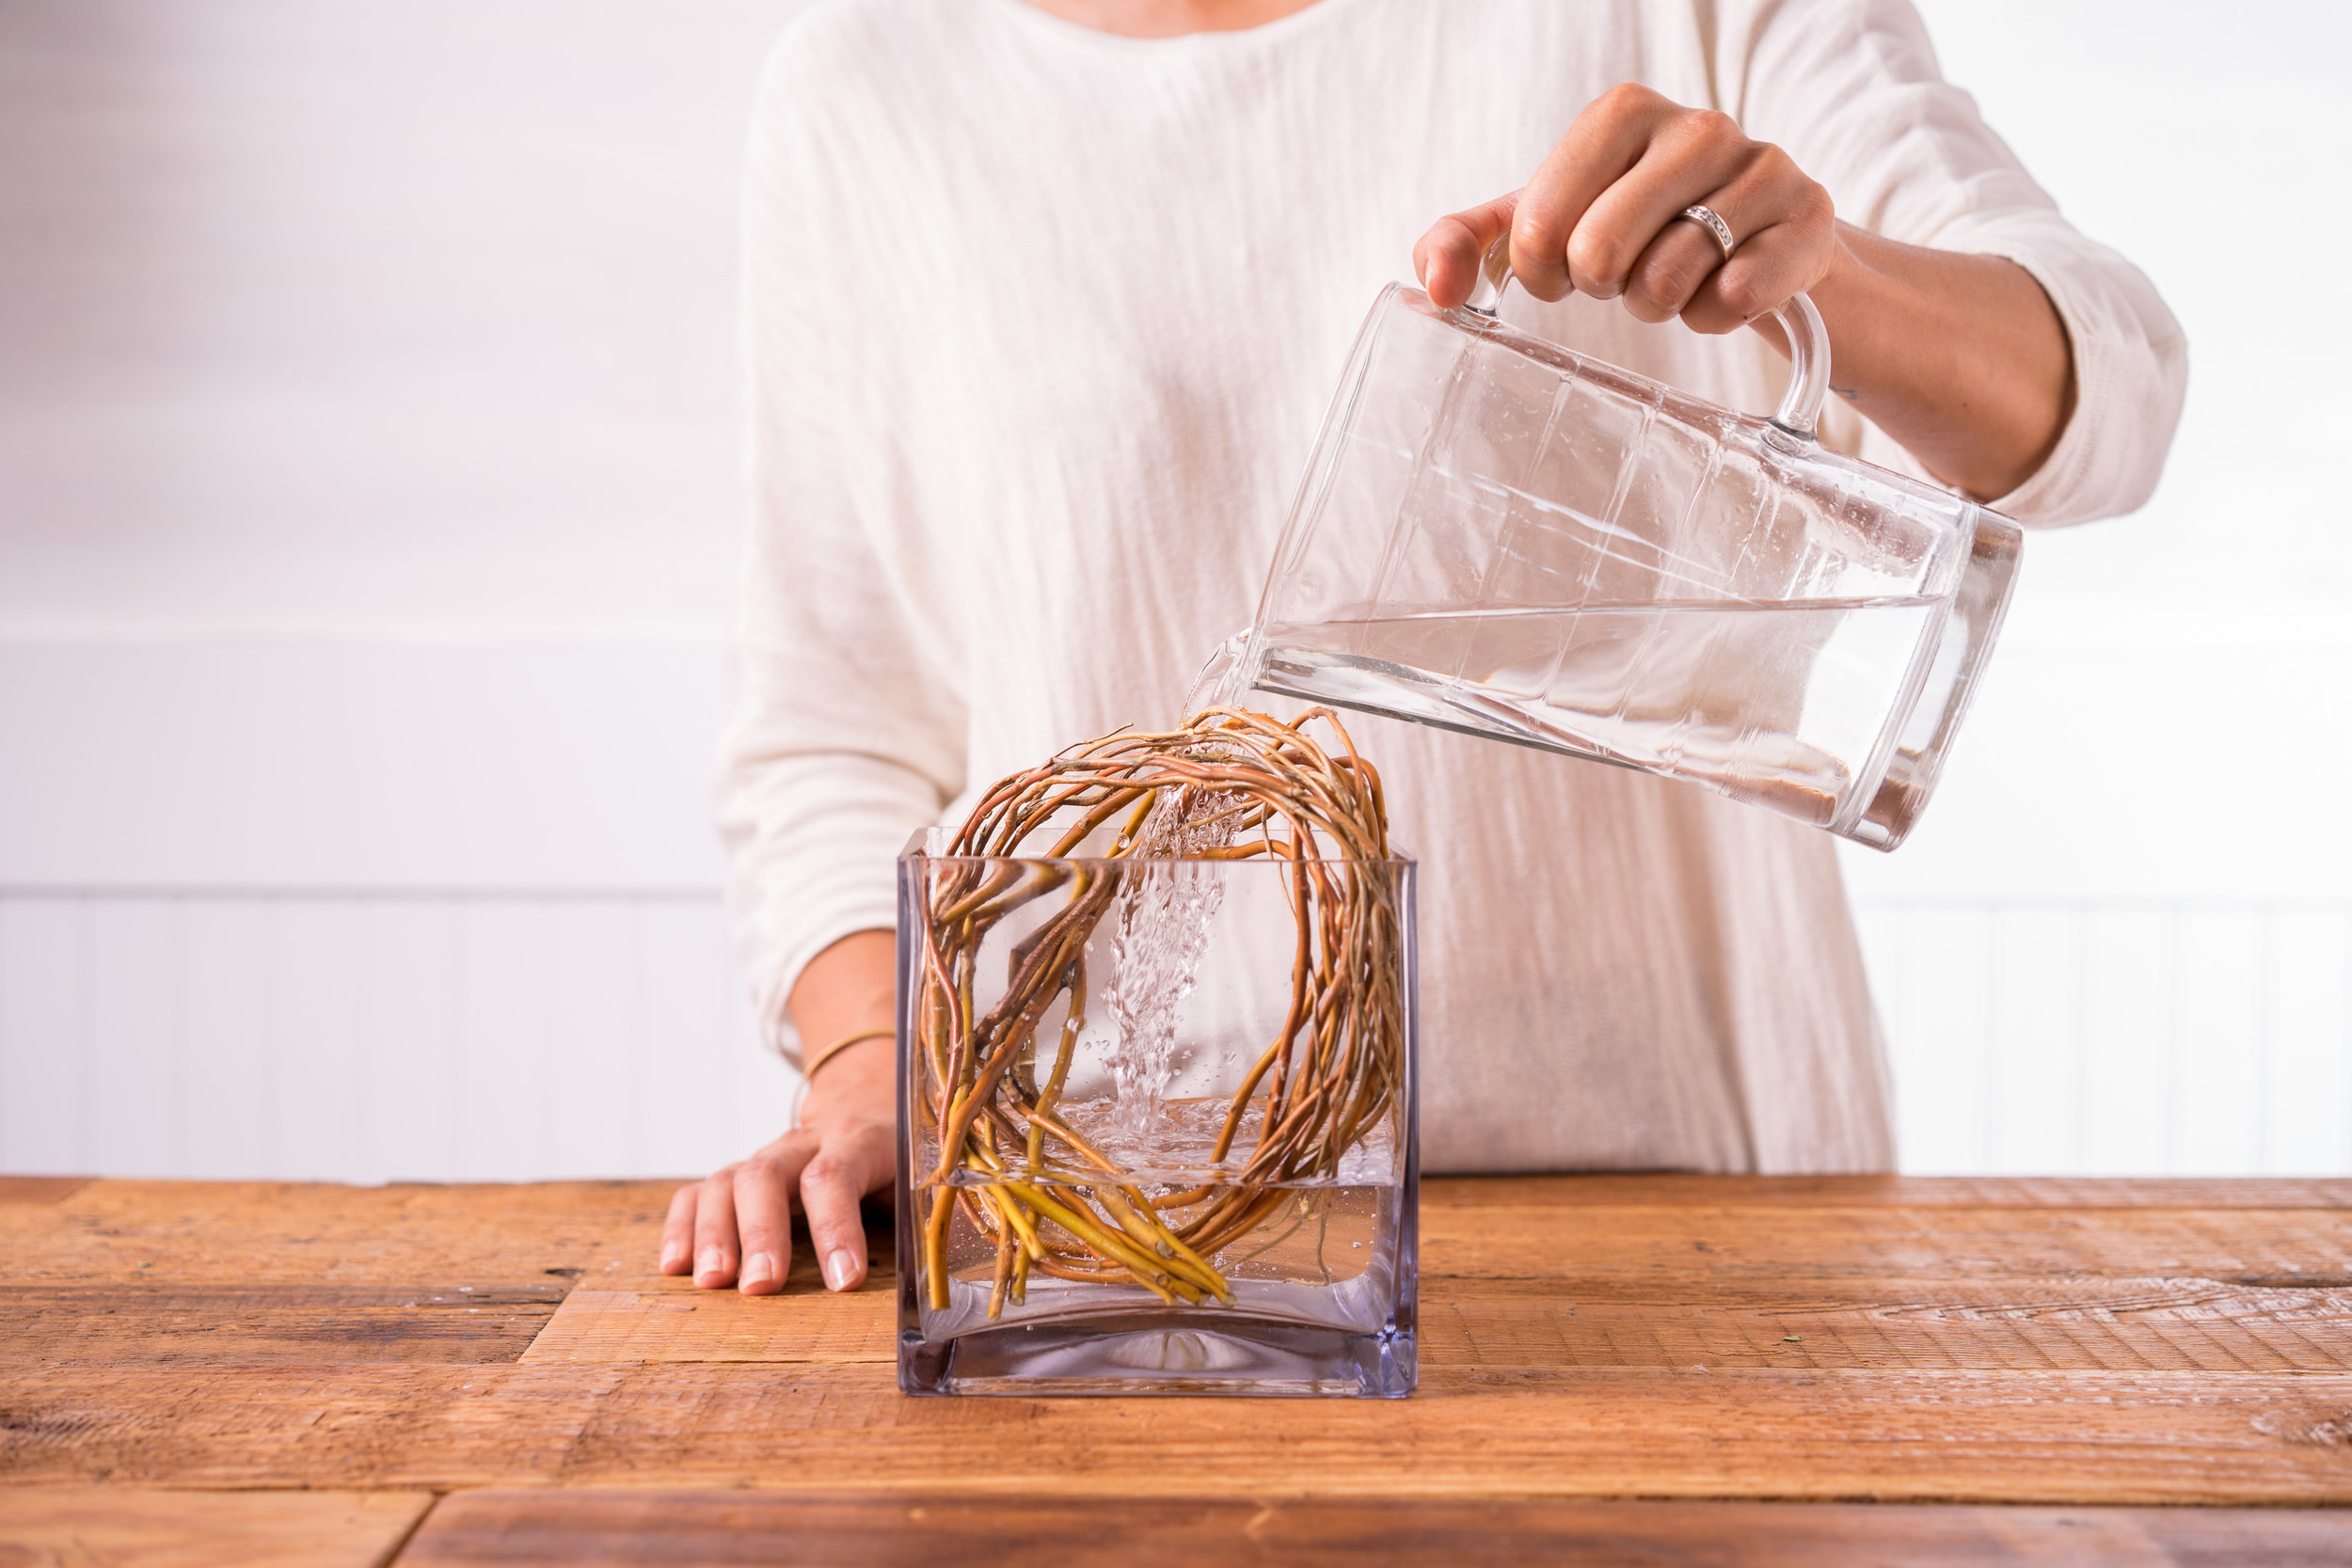
Step 2. Add water about ¾ full, and add a tiny bit, as in ¼ tsp. of bleach. This will help keep your flowers fresher, longer.
Step 3. Add the foliages. Cut most of the foliage short, to just peek over the top of the vase. Insert stems through the curly willow grid, at an angle. This makes an extra stable grid so your flowers stay put! To make it interesting, insert a few long pieces of foliages. IMPORTANT TIP: You don’t want to submerge foliage or flowers in the water; this makes the finished arrangement look messy, AND it makes the water dirty! So, make sure you clean the stems of any little leaves before inserting into the water.
Step 4. Add your largest, focal flowers first. Here, we are adding out large hydrangea’s first. TIP: Side note… Before using hydrangea’s in an arrangement, fill another vase, or container with very warm water, cut hydrangeas at an angle, and place in warm water. Let drink for an hour. Then use in arrangement. The flower will drink the warm water quickly, and hydrate the bloom to ensure it doesn’t droop.
Step 5. Add tallest flowers next. create an interesting line with a few tall flowers.
Step 6. Continue adding the other flowers, Turn your vase after inserting a couple flowers, to ensureyou create an arrangement that looks great from all angles. TIP: Like the foliages above, insert your flowers in at an angle. This will help create a rounded look.
Step 7. To refresh water after a couple days. place arrangement in the sink, with either a water bottle or the faucet hose, flush the old water out until it’s filled with fresh, clean water. add that ¼ tsp bleach again.
Step 8. When your flowers have finally faded. You can rinse the curly willow and re-use it in your next arrangement!
Can't get enough? Join Yoshi for her next Holiday Wreath Making Workshop here at the studio on Sunday, December 4th! More information and tickets found here.
Photos by: Steve Orlick
Floral design + tutorial by: Floral Fête


